That dreamy glamping photo online shows a canvas suite glowing at sunset, a fire pit crackling nearby, and not another soul in sight. Then you arrive, and the “luxury tent” sits beside a gravel parking lot, the en-suite bathroom is a shared shower block, and the heating is a small electric heater that struggles all night. If you want to choose a glamping site that actually matches the pictures, you need a checklist, not a pretty gallery.
This guide walks you through the key checks to make before you pay a deposit: picking the right tent style and budget, timing your trip to the season, understanding what the nightly rate really includes, inspecting bathroom and kitchen facilities, verifying the exact location and access, and reading the booking terms carefully. Work through each step and you can tell a genuinely comfortable site from an overpriced tent long before you arrive.
1. Define Your Glamping Style Before You Search
Glamping covers everything from a basic bell tent with a mattress to a fully furnished safari lodge with a wood stove and private deck. The first decision that shapes everything else is what kind of structure you actually want to sleep in. Safari tents usually offer the most space and solid furniture, dome tents feel modern and cozy, yurts suit cooler nights, treehouses deliver the wow factor at a premium, and cabin-style tents sit closer to camping with canvas walls.
Set your budget before you fall in love with a listing
Prices vary enormously between these styles, so decide on a nightly range first. Mid-range tents typically cost $150 to $400 per night, while luxury safari-style setups run $500 to $1,500 per night. Knowing your ceiling stops you from wasting time on listings you can’t justify, and helps you compare sites fairly within the same category.
Wilderness or convenience?
Next, decide how remote you want to be. A truly wild site offers stars, silence and wildlife, but it may mean long drives for dinner, fuel or supplies. Sites within 10 to 60 minutes of a town trade a little seclusion for easy access to restaurants, groceries and medical care. Families and first-timers usually prefer the second option; seasoned campers chasing dark skies may not.
2. Check the Season and Climate at the Site
Glamping is far less fun in the wrong season, so match your dates to the region before you book anything. Peak conditions generally run June to August in the northern hemisphere and December to February in the southern hemisphere. Booking within these windows gives you the best odds of warm, dry weather, though it also means the highest prices and the fullest calendar.
Shoulder months stretch your budget
If you have flexible dates, look at shoulder months like April-May and September-October in Europe. Rates typically drop 20 to 40% compared with peak season, and sites are noticeably quieter. The trade-off is a higher chance of rain or cool evenings, so pack accordingly and ask the host what to expect.
Ask how the tent handles bad weather
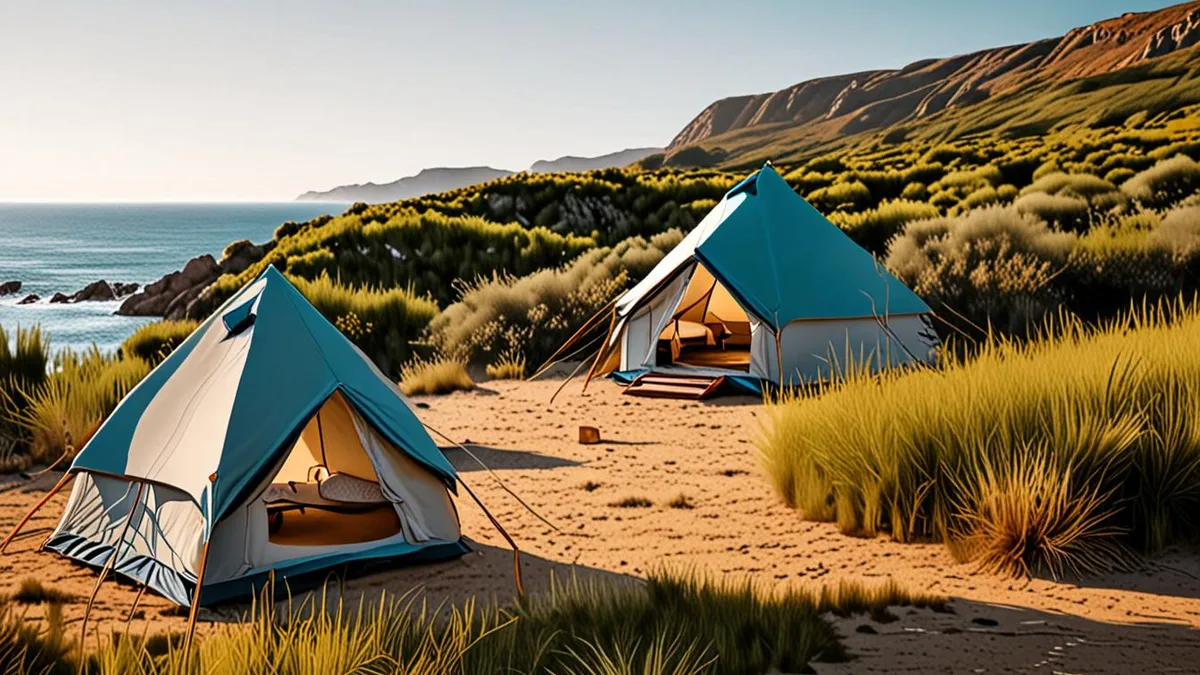
Canvas structures vary enormously in insulation and weather protection. Some safari tents have proper wood stoves, insulated liners and covered decks; others are essentially summer tents with a bed inside. Before booking, ask the host specifically how the tent performs in rain and wind, and what the nighttime temperature feels like inside during your travel dates. A host who can answer confidently, with details about heating, ventilation and storm history, is a good sign. A vague answer is a reason to keep looking.
3. Verify What the Nightly Rate Actually Includes
Two sites can advertise the same nightly price and deliver completely different stays, because the rate rarely covers the same things. Before you compare prices, confirm the basics: bedding, towels and toiletries should be included. At budget sites they sometimes aren’t, and linen can be an extra charge that only appears at checkout. A quick message to the host settles it in minutes.
Meals are the biggest variable. Some sites include breakfast or even full board, while others leave you entirely self-catering. If catering is available as an add-on, it typically runs $30 to $80 per person per day, which can double the real cost of a budget-friendly rate. Ask exactly what is served, whether dietary needs are accommodated, and how far the nearest restaurant or shop is if you’d rather cook.
Then dig into the smaller extras that skew comparisons:
- Firewood: some sites provide it free for the fire pit, others sell bundles on site, and a few expect you to bring your own.
- Activity fees: kayaks, guided walks, farm tours or stargazing setups are sometimes “free” and sometimes billed per person, so ask which applies.
- Resort-style facility charges: sites attached to a larger property may add a daily facility or amenity fee for pools, spas or grounds access on top of the room rate.
Add up the true total for your stay, then compare sites on that number rather than the headline rate.
4. Inspect Bathroom and Kitchen Facilities
The bathroom situation is where glamping sites quietly separate themselves into two very different categories. Some tents come with a private en-suite bathroom attached directly to your accommodation, complete with a flushing toilet, sink and hot shower. Others send you walking across a field, sometimes in the rain and often in the dark, to a shared facilities block. What surprises many first-timers is that both types can be listed at very similar price points, so this is not something you can judge from the nightly rate alone.
Always check the listing details or ask the host directly: is the bathroom en-suite, and is it exclusive to your tent or shared with one or two others? A “private bathroom” that sits fifty meters away is a very different experience from one behind a zippered wall inside your tent.
Kitchens and food arrangements
Kitchen setups come in three flavors. A self-catering kitchen gives you a cooking area with equipment so you can prepare your own meals. A communal kitchen is shared with other guests, which can be social but means waiting for the stove at dinner time. A restaurant-only site means every meal is bought on-site, which adds up quickly and limits flexibility if you have dietary needs or want to eat late.
Whichever setup applies, confirm the opening hours. A restaurant that closes its kitchen at 7 pm is a problem if you arrive at 8, and a communal kitchen that locks overnight matters if you like an early coffee.
Finally, go beyond the star ratings and read recent reviews with a specific filter in mind: hot water pressure, cleanliness and heating in the bathrooms. A canvas tent can look dreamy in photos, but a lukewarm trickle of water on a cold morning is the detail guests reliably mention afterward. If several recent reviewers mention cold showers or dirty facilities, believe them over the marketing copy.
5. Study the Exact Location and Access
Glamping listings are masters of creative geography. “Near a famous national park” can mean a five-minute drive or a ninety-minute one, and “beachfront” sometimes describes a site with a distant sea view from a hilltop. Before you book, open a map yourself and pin the exact location of the site. Measure the real distance to the park gate, beach or attraction you are actually coming for, and don’t rely on the listing’s own phrasing. If a host is vague about where the property sits, treat that as a warning sign rather than a mystery to solve after payment.
Access is the second thing people underestimate. The last stretch of road to a remote site can be the hardest part of the whole journey, and some properties sit at the end of rough gravel tracks that regular rental cars are not insured to drive on. Ask the host directly what vehicle they recommend and how long the final approach takes, and get the answer in writing so you have something to fall back on if the rental company asks questions.
- Vehicle requirements: If the host mentions 4WD is recommended, take it seriously. Arriving in a low-clearance sedan can mean parking far from your tent and walking your luggage in, or in the worst case, not arriving at all. Also check your rental agreement, since many companies exclude gravel roads from their insurance coverage.
- Seasonal road conditions: A track that is easy in dry weather can become muddy or washed out after rain. Ask whether the access road changes with the weather and whether the host can be reached if you get stuck. A host who answers quickly and clearly on this question usually answers quickly on everything else too.
- Distance to the nearest town: Reliable sites list exact distances to the nearest town, so use that figure when planning grocery runs, fuel stops and pharmacy visits. The drive also matters in an emergency, when you need to know exactly how far the nearest medical care is.
- Phone and signal coverage: Remote wilderness sites often have patchy mobile reception. Check whether there is Wi-Fi in the tents, and if you depend on your phone for navigation or work, ask the host which carrier works best in the area. Download offline maps before you set out, as signal can drop long before you reach the gate.
Once you know the true location and how you will actually reach it, the rest of your planning, from food supplies to arrival times, becomes far easier. You will also know whether to book a standard rental or something with more clearance, which can save you an expensive mistake at the counter.
6. Understand Booking Terms, Lead Times and Cancellations
Glamping sites are small operations with a limited number of tents, often just a handful per property, which means popular locations sell out far earlier than a typical hotel would. A safari tent that looks widely available in January can be gone by March for the summer months. The good news is that booking well is mostly a matter of following a simple sequence. Work through these steps in order and you will avoid both the “sold out” disappointment and the fine-print surprises that can turn a dreamy stay into a stressful one.
- Time your booking to the season. For peak season at popular sites, book 3 to 6 months ahead to secure both your dates and your preferred tent type, since the most sought-after units go first. For shoulder season, a lead time of 1 to 2 months is usually enough, and you may even find better tent choice than in the high-season rush.
- Check the minimum stay before choosing dates. Minimum stay requirements of 2-3 nights are common on weekends and holidays at sought-after locations. Knowing this early lets you plan a trip length that works, rather than discovering it at checkout and scrambling to rearrange your itinerary.
- Read the cancellation policy in full. Cancellation windows of 7 to 30 days before arrival are typical for partial or full refunds. Note the exact deadline on your calendar with a reminder, because a booking made in high season often carries stricter terms than a midweek stay.
- Confirm the deposit and payment schedule. Some sites take the full amount upfront while others only charge a deposit at the time of booking. Ask when the balance is due, how you will be notified, and whether it is charged automatically or left for you to pay manually.
- Get changes in writing. If a host agrees to a flexible arrival time, an early check-in, a date change or any other special arrangement, ask for it in a message or email so the agreement is documented and easy to reference later.
Once your booking is confirmed, save the confirmation, the cancellation deadline and the host’s contact details in one place, whether that is a notes app or a printed folder. Ten minutes of admin at this stage protects both your money and your trip, and it makes check-in day far smoother when you can find everything at a glance.
7. How to Choose a Glamping Site with Confidence
Those glossy photos rarely lie about the tent itself, but they often leave out everything that decides whether a stay feels worth the money. The fix is simple: work through all eight checks before you pay a deposit. Style and budget, season, what the rate includes, facilities, exact location, access, and booking terms together tell you far more than any hero shot on a listing page.
Just as important, cross-check recent guest reviews against the site’s own claims on comfort, weather protection, and service. When a site scores well on season, inclusions, and access, you can book with confidence that the photo-worthy stay you imagined is the one you’ll actually get. If this checklist helped you, share the article or leave a comment with your own glamping tips.