Booking a glamping trip sounds simple until you start packing. The resort promises a real bed, crisp linens and a bathroom, yet the confirmation email says nothing about slippers, a charger by the bed or something warm for a chilly evening. That gap between hotel comfort and tent reality is exactly where most travelers either overpack or arrive missing something they genuinely need.
This checklist takes the guesswork out of it. We start with what a luxury tent camp typically provides and what it usually leaves out, so you don’t haul a sleeping bag to a place with goose-down duvets. From there, we cover clothing layers for big day-to-night temperature swings, footwear suited to sand and dirt paths, sun and insect protection, tech and lighting for remote sites, and luggage rules for small charter flights. A final recap pulls everything together into one quick list you can check before zipping your bag.
What a Glamping Trip Actually Provides (and What It Doesn’t)
The biggest packing mistake first-time glampers make is treating a luxury tent like a campsite. Most high-end tent resorts supply real beds with quality linens, pillows, towels and basic toiletries, so your sleeping bag and travel pillow can stay in the closet. You are essentially packing for a hotel that happens to have canvas walls, not for a night under the stars with your own gear.
What’s usually missing
Even well-stocked tents have gaps. Slippers are rarely provided, which matters when tent floors get sandy or cold at night. Hair conditioner is often absent even where shampoo and soap appear, and you shouldn’t count on a phone charger by the bed. Insect repellent is another common omission, despite evenings being exactly when mosquitoes are most active around water and lights.
Check before you pack
Every property differs, so the smartest move is to read the specific camp’s amenities list before you build your packing pile. Some resorts include robes, refillable toiletries and even binoculars; others keep things minimal. A five-minute check of the website or a quick email to the property saves you from duplicating what’s already in the tent and from discovering at midnight that the one thing you assumed was included isn’t. When in doubt, pack the small personal items and skip the bulky bedding.
Clothing Layers for Day-to-Night Temperature Swings
Desert and savanna camps are famous for a packing challenge many travelers don’t anticipate: the temperature can swing 10-15°C between a warm afternoon and midnight. You might be in a t-shirt at sunset and shivering in a canvas tent two hours later. This is why a warm fleece or a down jacket belongs in your bag even in the warm season, when the forecast looks deceptively friendly. At a camp like Zannier Hotels Sonop, where tents perch on granite boulders in the Namibian desert, evenings cool down fast once the sun drops behind the rocks.
Warmth isn’t the only concern. Evenings are also when insects come out, so breathable long sleeves and long trousers earn their place in your suitcase. Choose lightweight fabrics that cover skin without overheating you, and think in thin layers you can add or shed as conditions change rather than one heavy garment. Neutral colors such as khaki, olive and beige work well: they hide dust, blend into the landscape and don’t attract biting insects the way dark navy sometimes can.
Timing matters when you plan what goes on top of those layers. If you’re traveling during dry season in East Africa, expect dusty days followed by cool evenings around 10°C, which makes a warm mid-layer far more useful than a second t-shirt. Pack your layers so the warmest items sit near the top of your duffel, since you’ll usually want them within reach on your first night rather than buried at the bottom.
- Light rain shell: shoulder-season trips can bring short downpours, and a packable shell weighs far less than a full rain jacket while keeping your evening layers dry.
- Wide-brimmed hat: afternoon sun in open landscapes is intense, and a brim protects your face and neck during walks around camp and game drives.
- Buff or neck gaiter: in dry season, fine dust gets everywhere, and a buff shields your nose and mouth on windy days while doubling as an extra warm layer at night.
Footwear and Terrain-Specific Gear
Footwear is where glamping trips quietly punish the underprepared. Paths between tents at most camps are unlit dirt trails, often scattered with stones, roots or thorny debris, so closed-toe walking shoes are essential for getting around after dark. Inside the tent itself, a pair of sandals or slip-ons keeps the floor from collecting dust and lets your feet breathe after a day of walking.
Ground conditions matter more than looks. Many camps sit on sand, gravel or rocky ground where fashion boots with thin, smooth soles become miserable within the first hundred meters. Choose shoes with sturdy, grippy soles that can handle uneven terrain, and break them in before your trip rather than testing them for the first time on a remote trail.
Coastal and reef-side tent camps add another layer to consider. At places like Sal Salis on Australia’s Ningaloo Reef, where beach tents sit steps from coral-fringed shallows, the shoreline is lined with coral and sharp rocks rather than soft sand, making water shoes a genuine necessity for anyone planning to swim or snorkel.
- Quick-dry construction: shoes that dry fast handle morning dew, beach walks and the occasional splash far better than canvas sneakers that stay damp for days.
- Slip-on camp shoes: a lightweight pair you can kick off at the tent door keeps sand out of your sleeping area and saves your walking shoes for the trails.
- Ankle coverage option: if your camp involves rocky terrain or longer guided walks, a low hiking shoe with some ankle support reduces the risk of twists on loose gravel.
Toiletries, Sun Protection and Health Kit
Sun exposure at a tent camp hits differently. You spend more time outdoors than you would on a typical hotel trip, often with little shade between your tent, the dining area and the pool or viewing deck. Reef-safe sunscreen with SPF 30-50 is essential if your camp sits near a coast, since many beach destinations now restrict coral-harming formulas. Pair it with an SPF lip balm and a soothing after-sun lotion, because even careful sunscreen application rarely covers every hour of the day.
A compact health kit saves you a long walk to the main lodge at the worst possible moment. Blister plasters and antiseptic wipes matter more than you might expect, since glamping usually involves more walking on uneven ground than a resort stay. Keep everything in a small zip pouch that fits in your daypack rather than your main bag.
Shelf space is the other constraint. Tent bathrooms can be charmingly compact, with a single narrow ledge or a hanging pocket for toiletries. Solid bars and refillable bottles solve both problems at once.
- Insect repellent with DEET or picaridin: choose a pump or wipe format rather than aerosol, which travels better and won’t spray into your face in a breeze.
- Rehydration salts: useful after a hot day of activities or a long charter flight, and far lighter than carrying sports drinks.
- Personal medication: pack it in your carry-on, in original labeled packaging, plus a spare day’s dose in case transfers run late.
- Solid shampoo and soap bars: they won’t leak in a hot tent, and a small tin keeps them contained between uses.
- Refillable travel bottles: fill them with your own conditioner, since camps often supply only basic toiletries and skip hair conditioner entirely.
Tech, Lighting and Power in Remote Tents
Remote tent camps handle power differently than hotels, and this is where most first-time glampers get caught out. Many safari and desert camps run on generators with limited hours, switching to solar or battery power overnight. Outlets may be few, far from the bed, or shared in the main lodge rather than in your tent. Before you go, it helps to read about a real setup, like these river tents along a safari riverbank, to picture what in-tent lighting and charging actually look like.
Lighting is the other daily reality. Paths between tents are typically unlit after dark, partly by design to keep the atmosphere natural and avoid disturbing wildlife. A headlamp with red-light mode lets you walk to dinner or the bathroom without blinding yourself or others, and a small backup flashlight covers you if the headlamp battery dies.
Finally, think about dust and sand. Fine grit finds its way into tent zippers, camera bodies and charging ports, especially in dry season. A sealed pouch is cheap insurance for your electronics.
- Universal adapter: useful because camp outlet types vary widely by country, and some properties use a mix of plug standards on the same circuit.
- Power bank: pick one large enough to recharge a phone several times, since overnight charging may not be possible during generator-off hours.
- Car charger: handy on game drives and long transfers, where the vehicle is often the only reliable power source for hours at a time.
- Dry bag or dust-proof pouch: a roll-top design seals out fine sand on beach stays and keeps lenses safe on windy savanna days.
- Spare charging cable: tent floors and sandy zippers are hard on cables, and a broken one can’t be replaced at a remote camp.
Luggage Choices and Booking Logistics
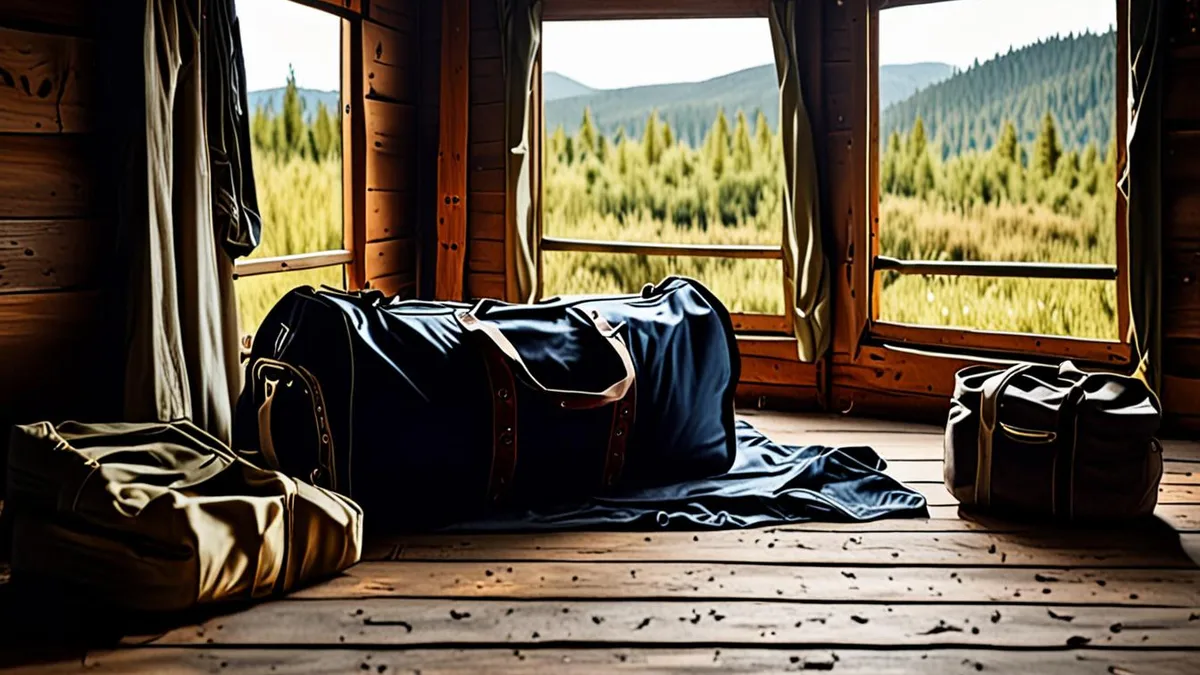
Getting your gear to a glamping camp often involves more logistics than a standard hotel trip. Remote sites may require a small charter flight, a 4×4 transfer or even a boat, and each of these comes with real constraints on what you can bring. Hard-shell suitcases that work fine for city hotels can become a genuine problem at a bush airstrip, so it pays to think about luggage before you book rather than the night before you fly. A little planning saves you repacking in an airport parking lot.
- Choose a soft-sided duffel under 15 kg. Many small charter flights to remote camps require them, because hard suitcases don’t fit through the cargo doors of light aircraft and weight limits are strict.
- Book 3-6 months ahead for peak season. The most sought-after tent camps are small, often with a dozen units or fewer, so availability disappears early for popular dates.
- Confirm luggage limits and transfer details at booking time. Ask your operator about exact weight allowances, whether bags are weighed at check-in, and how you’ll get from the airstrip or roadhead to the camp itself.
- Pack a foldable daypack. It carries water, sunscreen and a camera on excursions, then flattens to almost nothing inside your duffel.
- Leave room for souvenirs. Local crafts and textiles are often beautiful and bulky, so plan your return weight rather than filling the bag on the way out.
If your itinerary includes more than one camp or a mix of camps and city hotels, keep a small bag of essentials on top so you’re not unpacking the whole duffel at every stop. Packing cubes help here too: one cube per camp means you can lift out only what you need for that night. Ziplock bags are just as useful for keeping dust out of chargers and cables between stops.
And once your booking is confirmed, put a note in your calendar to recheck luggage rules a few weeks before departure, since charter operators occasionally update their weight policies. If you’re flying with a partner or group, consider sharing one duffel for shared items so each person keeps personal weight down. When in doubt about any limit, ask the camp or operator directly rather than guessing at the airstrip.
Final Packing Checklist Recap
Packing for a glamping trip comes down to one simple idea: skip what the camp already provides and focus on what it doesn’t. Leave the bedding, towels and basic toiletries at home, and spend that luggage space on layers for the 10-15°C day-to-night swings, sturdy closed-toe footwear, sun and insect protection, a headlamp for unlit paths, and a soft-sided bag that suits your transfer.
Before you zip the bag, cross-check your list against the property’s amenities list and your transfer type — a charter flight with a 15 kg soft duffel limit changes what fits. Do that quick double-check and you’ll arrive with everything you need and nothing you don’t. If this checklist helped you pack, leave a comment or share the article with a fellow traveler.